Tutorials: Putting The Type R Into Motion
I recently helped Ken Saito review the Honda Civic Type R in Japan (if you haven't read his posts on Jalopnik, you're really missing out! Linked here: https://jalopnik.com/tag/a-car-nerds-guide-to-japan).
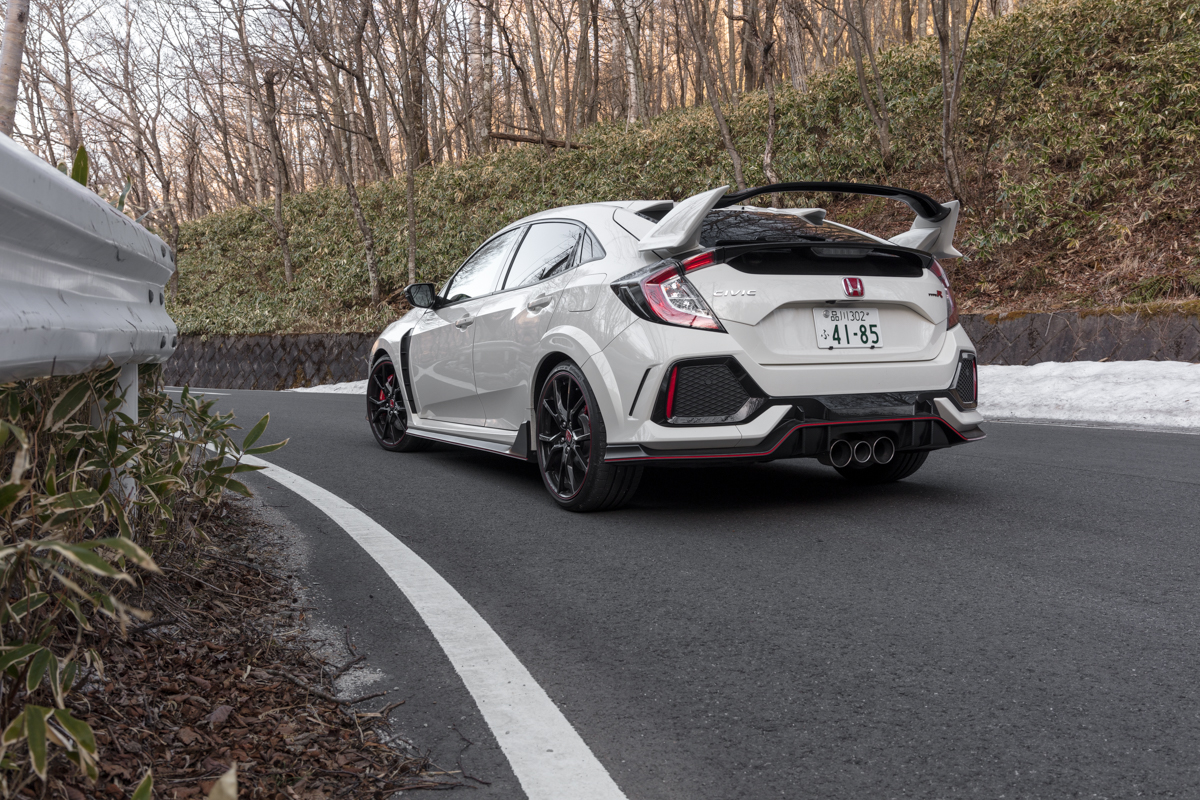
We took the Type R all around Mount Akagi, a few hours outside Tokyo, in search of a taste of some of Initial D's famed drifting spots. It was no panda Trueno, but the FWD Honda didn't disappoint on these hairpin turns!
Hopping on planes, trains, and automobiles (quite literally) means I needed to travel light. I've been backpacking for a few weeks at this point and only carrying my Canon 5Ds, a Sigma 24-70 f/2.8 ART, a B+W circular polarizer, and a Manfrotto BeFree Carbon Fiber Tripod. Combining a tripod and a CPL gives you a ton of creative flexibility, and with a little planning can be enough to recreate a totally commercial look.
I'll breakdown my shooting and editing process for you here. I start in lightroom to edit and organize RAWs, move to Photoshop to start layering and masking, and then on to Virtual Rig to get the car moving. If you haven't heard of Virtual Rig, it's a program used to recreate the look of HUGE and expensive automotive camera rigs. They have a demo version available to play around with here: https://www.virtualrig-studio.com/. Anyway, here's what I used to create the shot:
Layer 1
The first layer is polarized vertically, effecting the top of the car, the road, and most of the greenery around the road.
I use this exposure as the base layer because I want to keep the background polarized and more vibrant.

Layer 2
The rest of the layers are only different rotations of the polarizer. This one was set to minimize reflections on the windows on the left side of the car mainly.

Layer 3
The last layer is another rotation of the CPL and this time for the paint on the left side of the car, as well as some of the black trim pieces on the rear.
With these 3 layers, just turns of the CPL, I'll work around the reflections on the car to add/remove details to help give it shape or reduce distractions. After touching up the reflections, it's time to create a mask for the entire car. One of the more time consuming parts of the edit, but it's worth the time to create a proper mask, for this I'll use the pen tool and go around every square inch.
Typically you should move the car and take a shot of the background alone to make your Virtual Rig process a little easier, but we were pressed on time, so I simply cloned over the edges of the car to get a good base image for Virtual Rig. If you put the car into Virtual Rig, you'll end up pulling pixels from the car into your background, making it look like the car is blurred as well.
I make a few different blur patterns in Virtual Rig to ensure everything matches up properly (sometimes you get weird patterns when you have blur going in multiple directions). I'll render a few different versions, then mask them together in Photoshop. Here's an example of how my path looked in Virtual Rig:

Back in Photoshop, you'll replace the background with your new Virtual Rig renders and touch up any blur errors.
Now you're halfway there!
Putting the car on top you'll realize it's flying down the road with the emergency brake on.. You'll need to spin the wheels and blur the reflections on the car.
You can use Photoshop's spin blur to put the wheels in motion, but you need to be careful of the brakes and rotors. They'll be standing still under the spinning wheel. I find the best way around this is to make two copies of the wheel. One with the brake/rotor cloned out, and one with the entire brake and rotor showing (you'll need to clone some pieces back together since the wheel covers them up).
As for the reflections, I'll create a few copies of the car and apply motion blur in a few different directions on each layer. Mask each of these with the direction the blur should be going on each panel. For example, on the rear glass the blur should be moving nearly vertically, whereas the blur on the door is more horizontal.
Now it's time to add a few overlays, play with colors and contrast, and add it to your portfolio! Check out the difference from the base layer to the final image:

I hope you found this write up helpful! I always love to hear feedback, so leave a comment below!